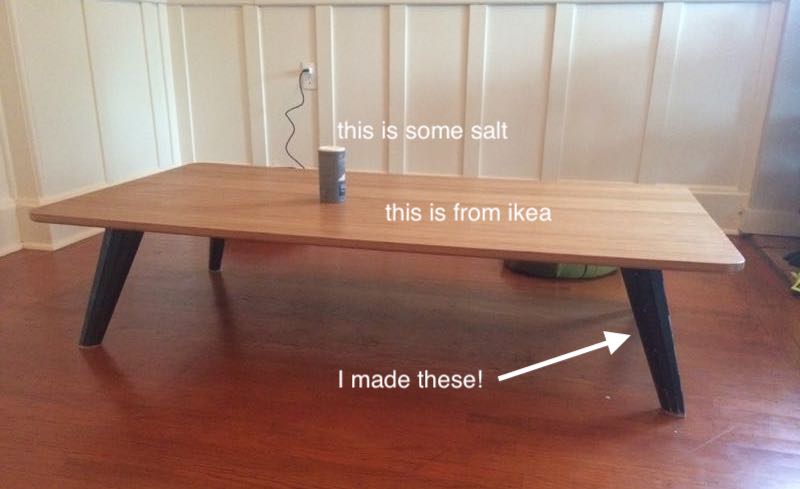
This project is one of those strange ones, perhaps the norm really, which bloomed into a long greulling effort, mostly beacuse I was so convinced it would be quick and easy. I set out to test a sheet-metal folding work-flow. I chose a seemingly simple shape: a faceted cone, which would act as a table leg. Simple project right?
Here is the cad model I made (rhino):
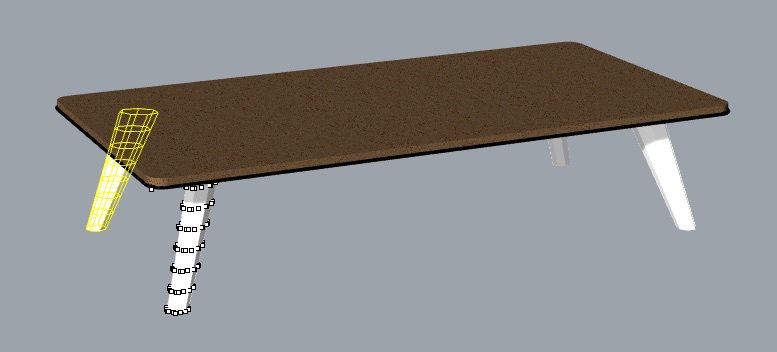
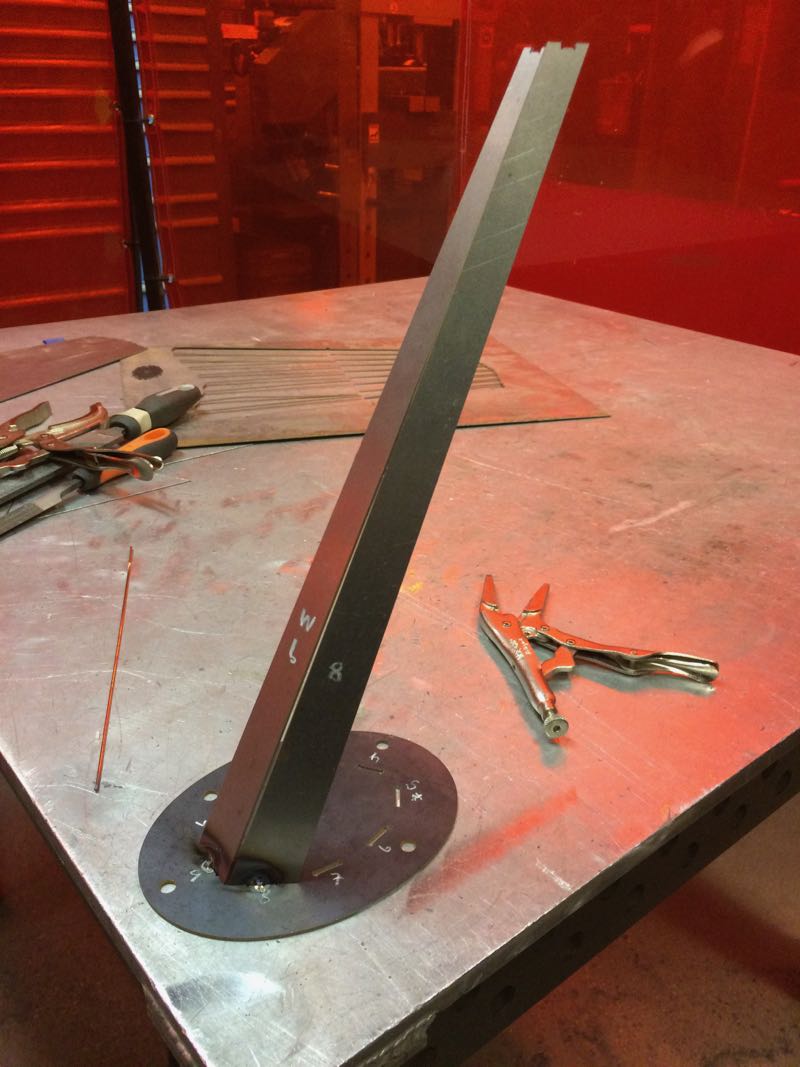
After I got the cone shape figured out and how it would attach to the ikea table top , I flattened the part. My plan was to cut the flat part on the waterjet, fold it up, TIG weld it at the seams, voila!
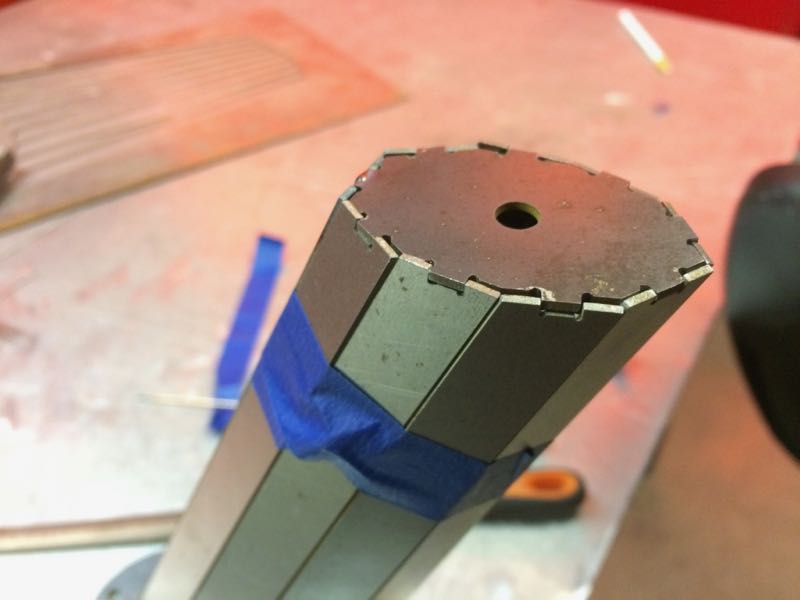
I decided it would be brilliant to add little tabs and slots so that all the sheet-metal parts would register nicely together at their seams. I even created tabs and slots for the leg to fit into the base plate, as well as a little end cap. All of this took effort to model, not only because it requires many tabs and slots that need to fit, but also because the waterjet has a significant kerf. So all the slots that received a tab had to be T-bones:
But I figured, “No problem I can do this modeling, and when it comes time to fabricate it will be that much easier. It’s worth it”
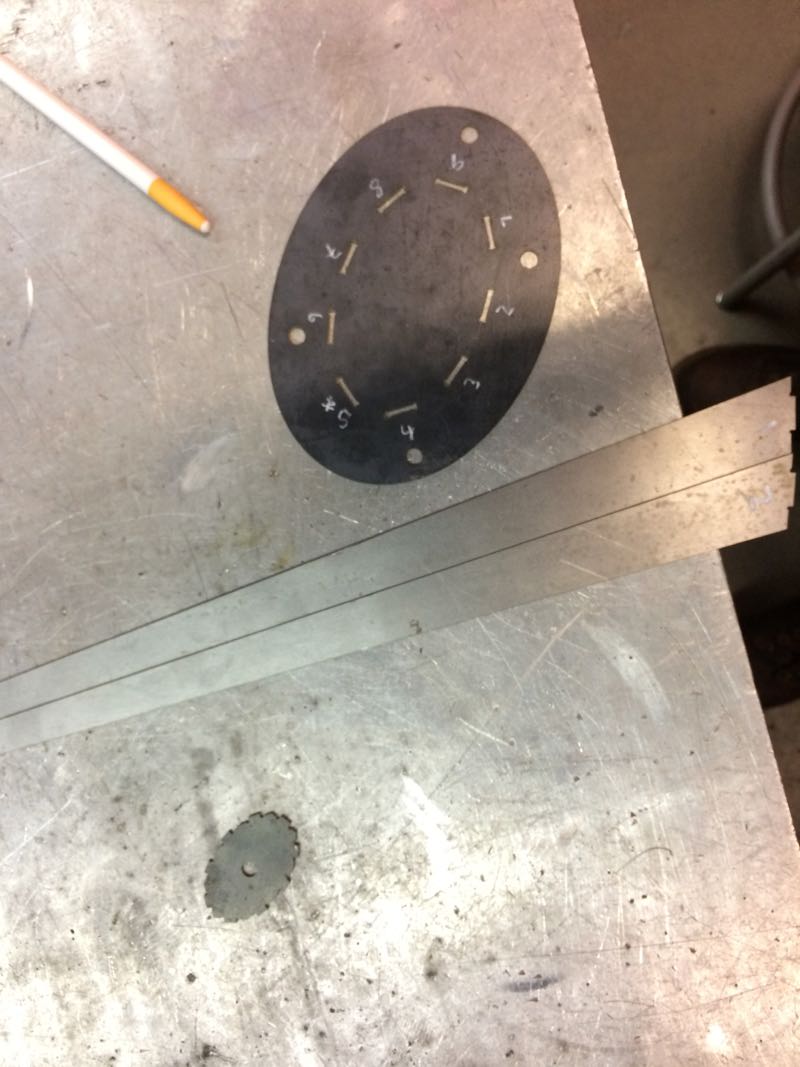
Next I cut out the flat patterns for all four legs on a waterjet. And it was quite a fight. I thought, “the waterjet is miraculous, this will be quick! Why not do all four legs at once?” Of course it wasn’t quick. The machine kept getting a garnet clog. The cause, as far as I can tell, was the score-lines I was trying to etch along each fold-line. During the etching process, as opposed to cutting, the garnet cannot escape into the tank of water below the part. All that garnet builds up on the surface of the part, which I suspect makes a clog more likely. It is also possible that the thin sheet metal was warping and flexing, reducing the gap between the nozzle and the material. Whatever the cause, I kept having to stop the machine and clear out the clog.
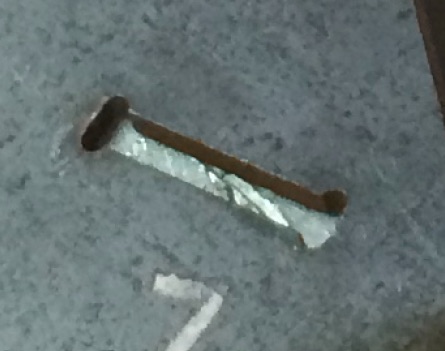
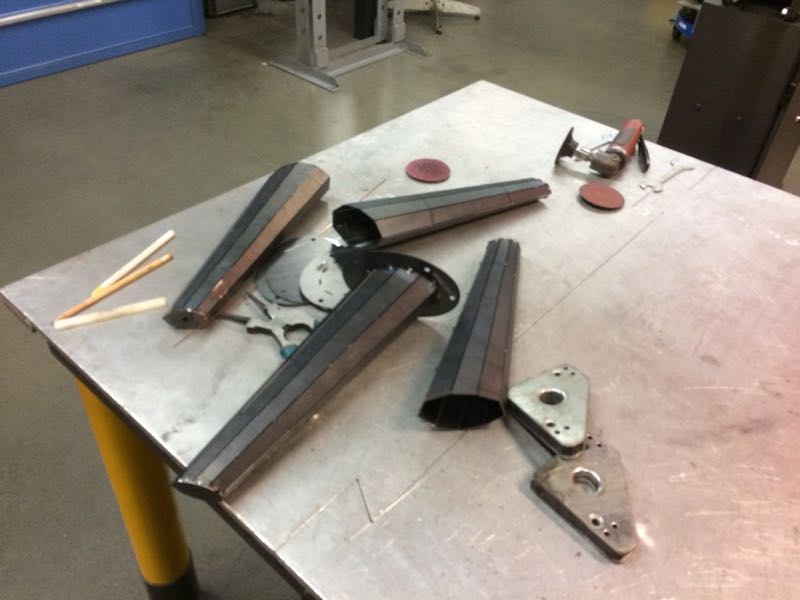
Finally I got the parts… Crap I can’t find any photos of them. Well the take away is that they were next to impossible to fold up! The issue was that the folds took way to much force to produce. This was because each fold-edge was long, about 13 inches, with such a tiny lever arm to grab onto, about 1 inch between fold edges*. I struggled with one leg for a few hours, using a manual break, cold chisel, vice grips, and alot of GrgghghgGHGH! energy to get something almost weldable. If I squeezed it hard the edges of the seam touched. But in my experience welding something that wants to spring apart can be problematic. In additino, the shape was all wrong so the that registration geometry was useless. Clearly it was not the way.
The next thing I tried was splitting the faces into separate strips. I figured I would just weld the whole thing up.
It worked…-ish. It was hard to weld and each strip warped so much I was struggling to fill giant gaps. I kept burning holes in the metal. Plus it looked like junk. This was no fabulous folding-up process I imagined. There wasn’t even any folding! I left the project for a year or so in frustration and did other things.
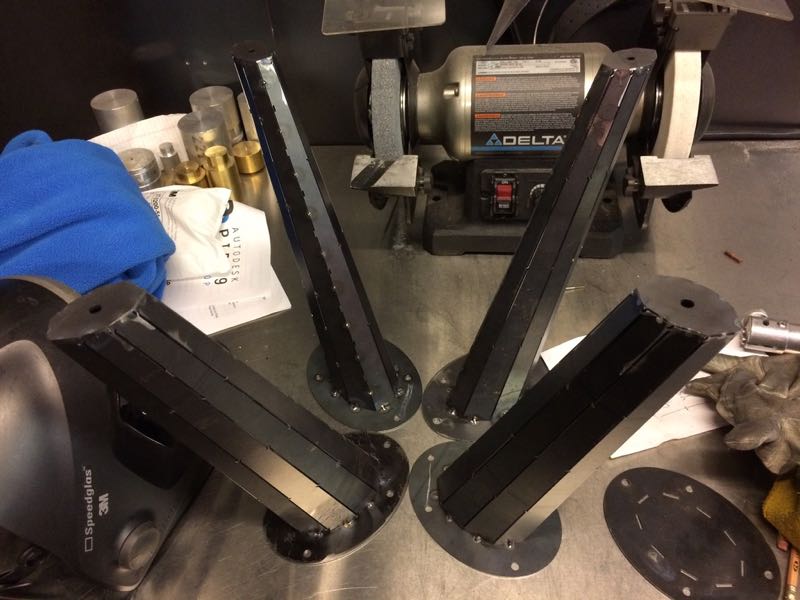
Then for my job (which involves teaching people how to use CNC machinery) I was asked to teach the metabeam laser-cutter. The metabeam can cut thin mild-steel! I hadn’t considered it for this project because it was a bit of a pain to get accustomed to, but now I was forced to get comfortable with it. In the process I realized this was the machine to try out a folded-sheet metal workflow.
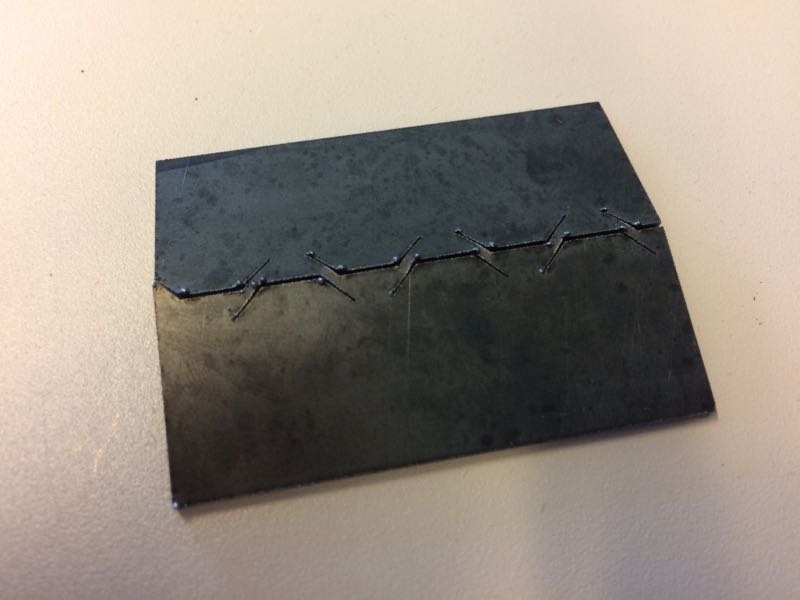
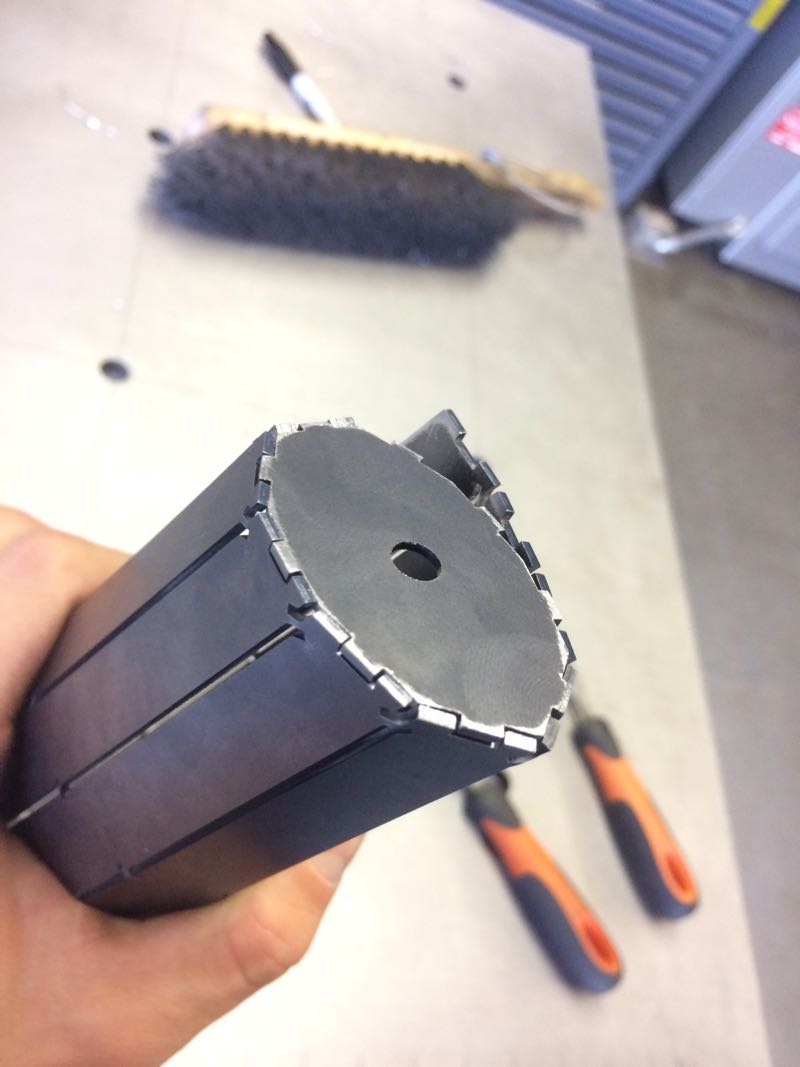
After some experimenting I settled on a series of “smiles” that form the perforated fold-edge. These seem effective to me because the part of the metal that deforms twists insteads of bends. I copied this idea from looking at projects made by industrial origami. I suspect that twisting in this case stresses the metal less, but I have yet to test that hypothesis. No matter, it works.
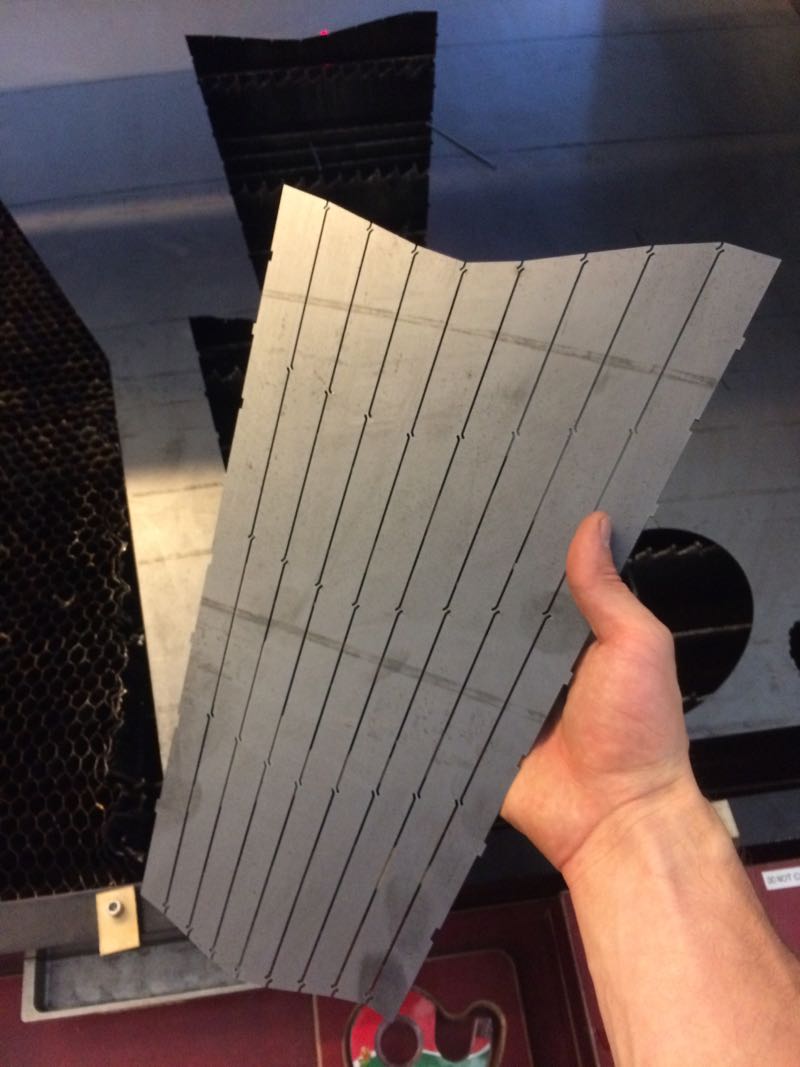
* The score lines were about 50% into the sheet metal, which was mild-steel, about .056 inches thick.